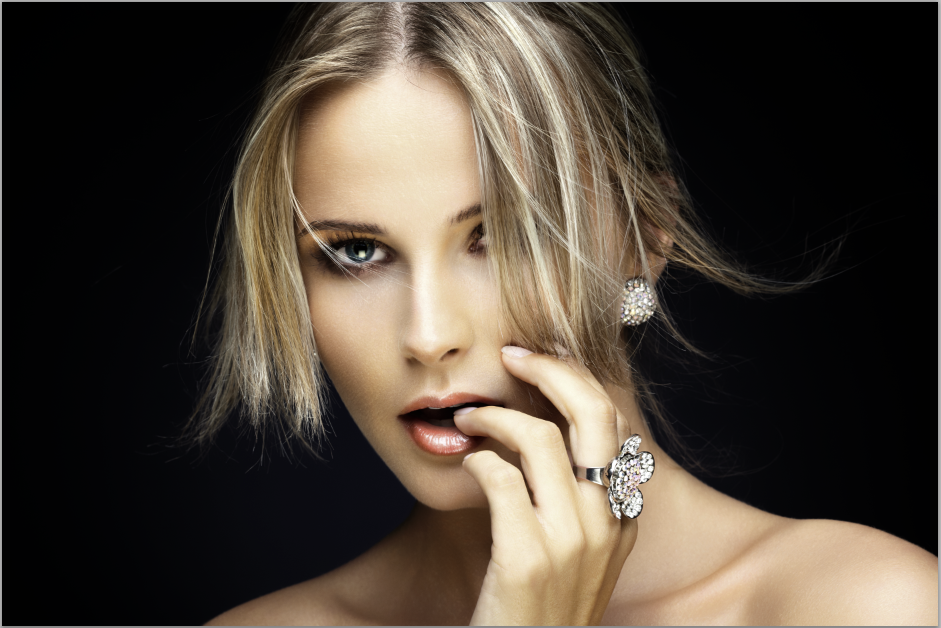
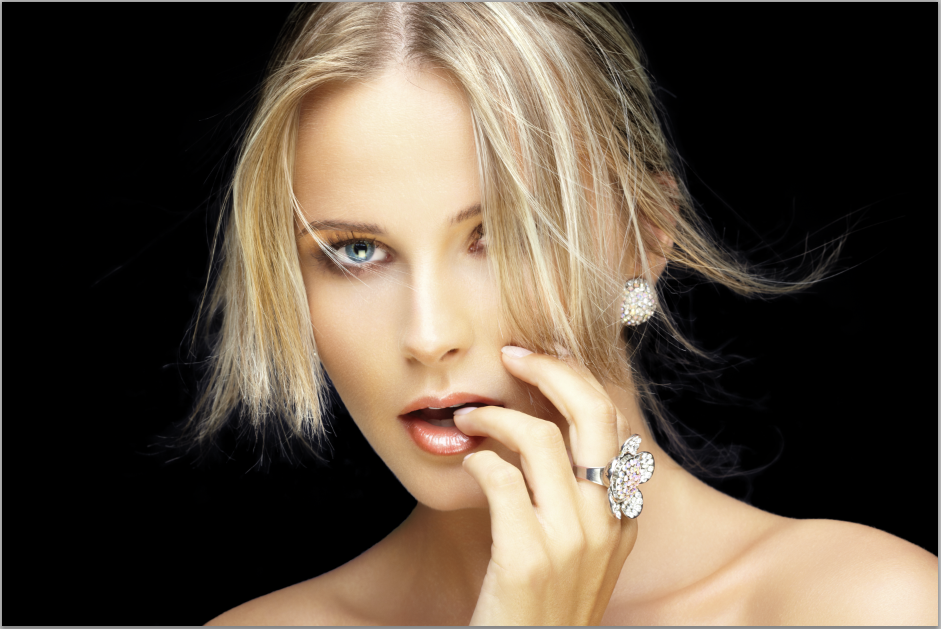
Want to take your Photoshop technique to the next level? Understanding this one concept will forever change the way you use Photoshop - it did for me!
Selections are just the beginning...
You've probably heard of "selections" in Photoshop - it's where you "select" certain portions of the image, or layer, on which to perform an action. There are countless actions - filters, adjustments, etc - that we have access to in Photoshop. More powerful tools exist in this one piece of software than in the most expensive darkroom setup - but all of them would be nearly useless if you couldn't choose where to apply the effects.
When we first run Photoshop, the Move Tool commands top position in the toolbar, but the selection tools come next: Marquee, Lasso, Magic Wand & Quick Selection Tool. This is a clue as to how important they are. These basic tools are swift and deft at grabbing specific portions of image data, allowing you to manipulate only the "selected" bits. Add to these the "Color Range" tool in the menu, and you can pretty much select anything you want, right?
What if you had a frizzy-haired portrait subject whom you wanted to isolate from the background? Try Magic Wand or even Color Range and you'll quickly be reminded that these are basic tools - their limits becoming painfully obvious in challenging situations, especially when you zoom-in, and when you need professional results. It's the 80/20 rule again: basic selection tools are great for that first 80%, but just like anything it's the last 20% that separates the "great" from the "awe-inspiring". The good news is, Photoshop sits squarely in the "awe-inspiring" category. How?
Masks.
In my first, oh…decade of using Photoshop, Layer Masks were a bit of a mystery to me because I couldn't wrap my head around this one, simple fact:
Masks Are Exactly The Same Thing As Selections.
"What?!?" one may ask, "If that were true, what makes them so special?"
Answer:
- They give us a visual representation of the selection.
- They are editable using many of the most robust tools in Photoshop.
If you haven't had a Eureka moment yet, read those two items again.
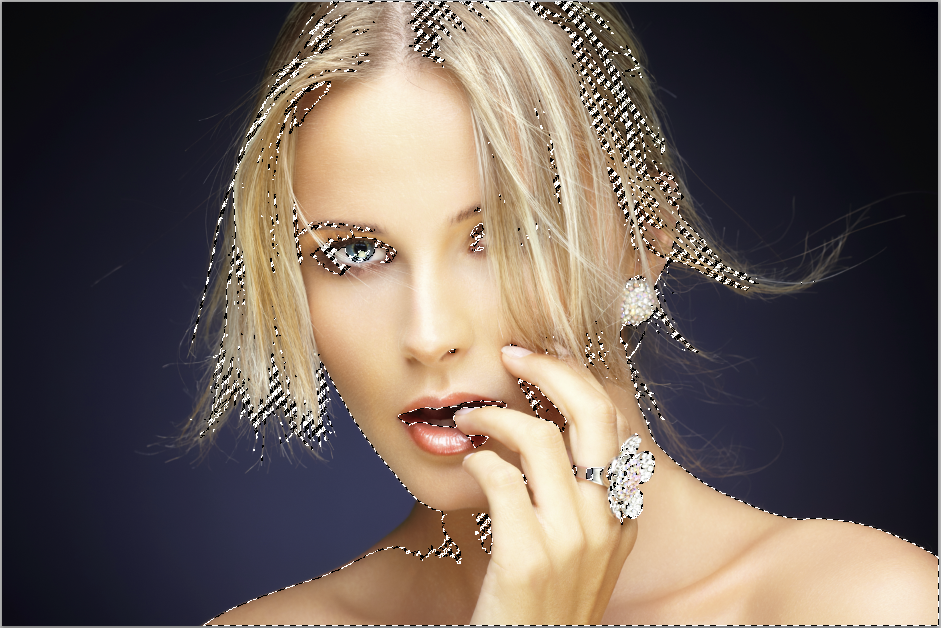
With selections, all you see are the "marching ants" representing whatever percentage of selection density that is set to display - or simply put, a quick "outline" of your selection.
This is good for quick "outline" type work, but to get into the finer details of a selection (like someone's frizzy hair, for example) wouldn't it be better to see the selection for what it really is? This is what Masks do for us.
There are a couple of different kinds of Masks, but for the sake of this tutorial, I'm talking about Layer Masks, and I'll use the terms "Mask" and "Layer Mask" interchangeably.
Putting it through the paces.
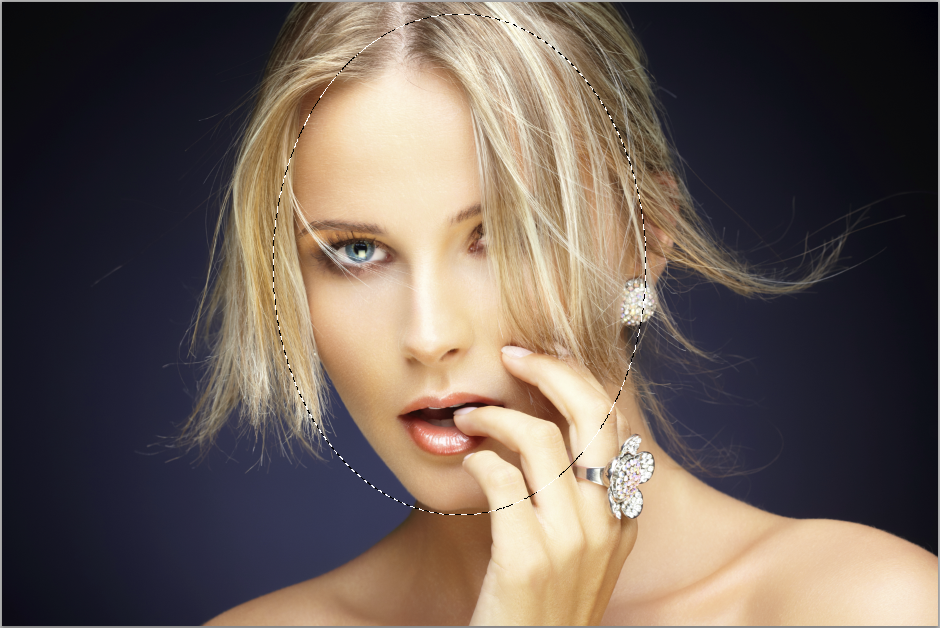
So let's use a free download courtesy of iStockphoto.com as a sample image, and let's make a simple selection using the Marquee tool, with a bit of feather edge:
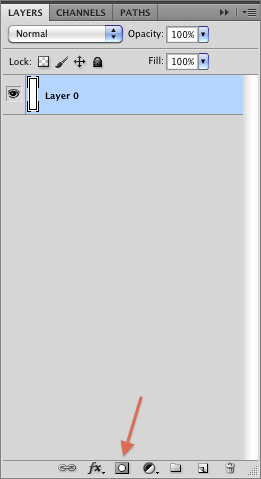
Click on the "Add Layer Mask" button at the bottom of the Layers panel to create a new Mask from the selection:
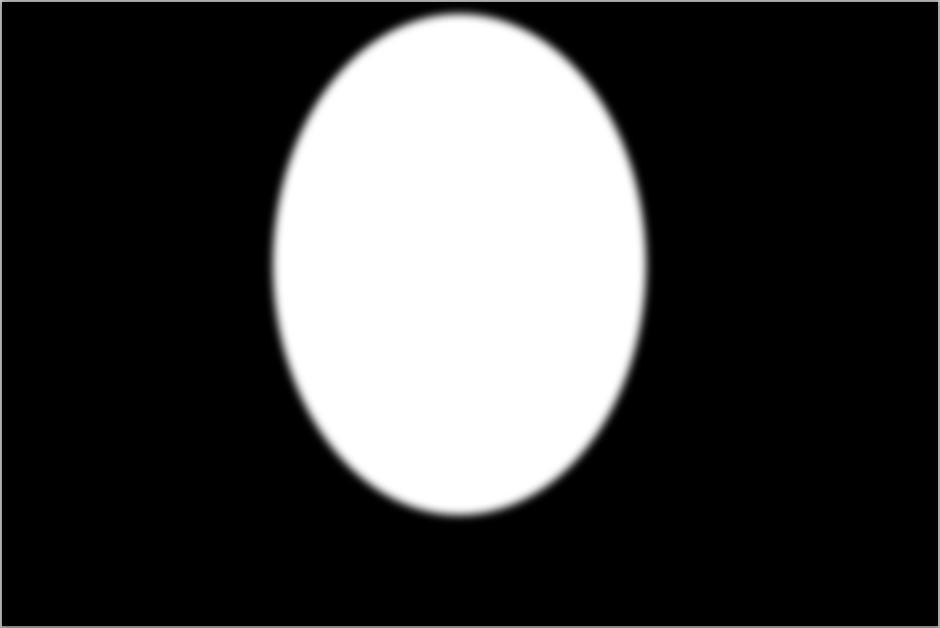
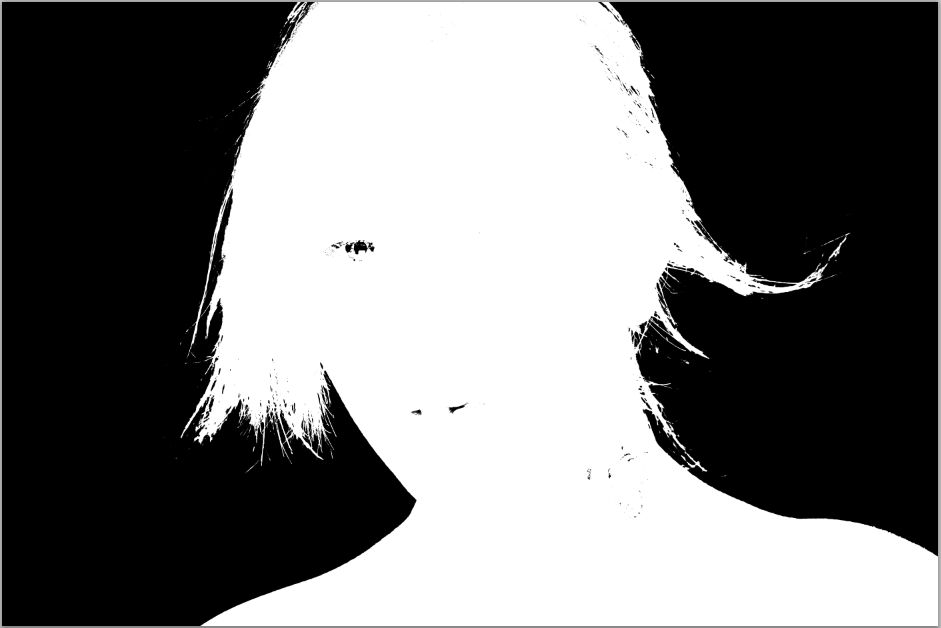
Voila. A Layer Mask. This is a visual representation of the selection we made: White is "Selected" or "Will Show Through", Black is the opposite:
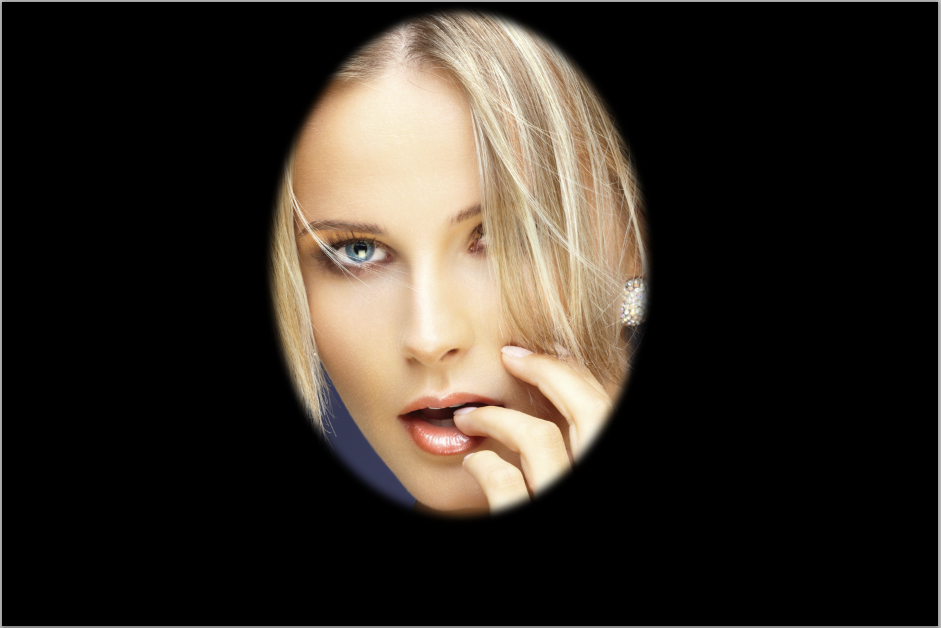
The result of this Mask? Photoshop will "Show" the White parts, and "Hide" the Black parts:
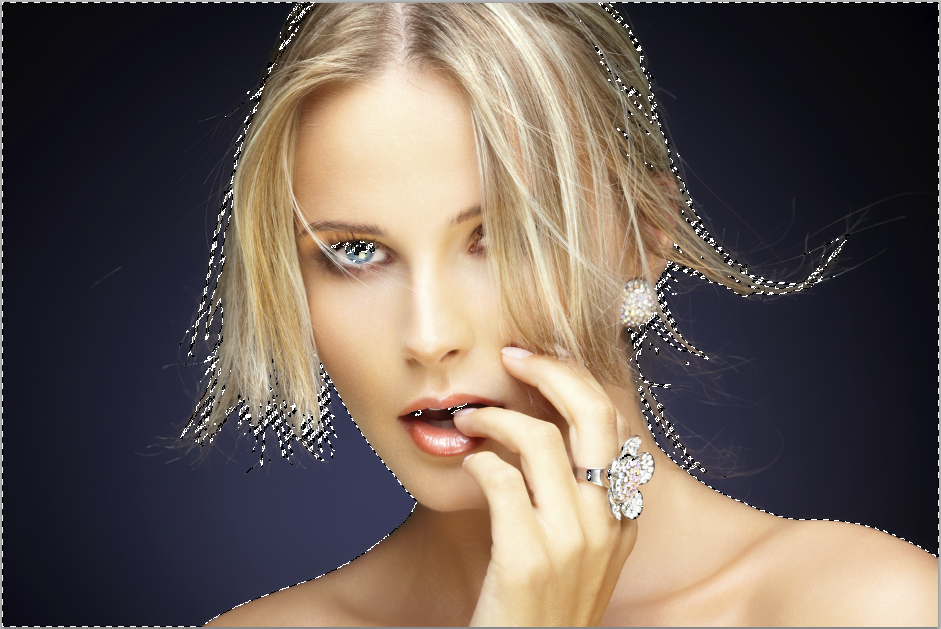
Now let's try this with the Magic Wand, because we want to isolate the subject from the background. Here's what a couple clicks with Magic Wand got us as a selection:
The Mask:
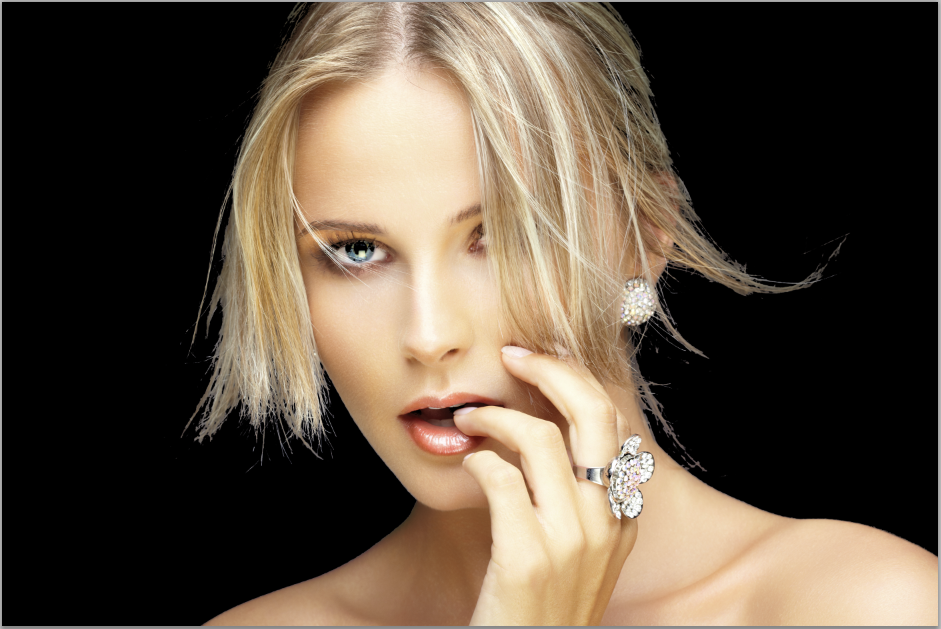
This is pretty good - for 10 seconds of work. We have primitive hair detail, and the subject is isolated. Here's the result:
But that's only 80% of the way there. We can't use this for professional applications - the hair looks awful. Here's where the beauty of Masks comes in: They Are Greyscale Images!!!
In other words, they can have as much pixel detail as the resolution of the image allows, and can contain all the gradient values between white and black. So ANY black and white image can be used as a Mask!!! For example, let's start with the red channel for this particular image. The Mask looks like this:
Wow. Look at that detail. Everything is preserved, because these are just the luminance values for the red channel of the image we are editing! Now we can see the limitations of the "Marching Ants" - it doesn't show you a whole lot:
It's obvious we need to be working with Masks in order to even see the kind of detail that Photoshop is capable of in making selections. SO, the result of this Mask?
The detail is all there, but she looks a tad ghostly because White "Shows", Black "Hides" and Grey "Shows Some - Depending On The Value Of Grey". So part of her skin tone has been "Hidden". With some fine-tuning, you can get it to wherever you want in quality. Here's what you can get after some quick Dodging and Burning of the Mask:
You can see a little bit of haze around the tough-to-mask parts of the hair, but remember this is on a Total Black background, probably the toughest environment. You CAN spend more time refining this so it's perfect, using tools like "Refine Edge" on the selection, but if you had more forgiving requirements, like swapping out the blue background for a different color, then what we've got here is already pretty darn good:
In the next instalment I'll go through exactly how to refine that Mask we made from the Red channel in order to get the these results - or better. For now, there's plenty of stuff to start experimenting with. Happy Photoshopping :)
